Touching Up High Speed Cutters

Although you can sharpen high-speed tools in your workshop, it’s not a good idea. The cutting edges are often tipped with carbide and ground to complex angles and shapes. These require special equipment to grind hard materials at precise angles.

More importantly, these tools are balanced to run at high speeds. Planer knives are ground to weigh the same; saw blades are tensioned and straightened; router bits and shaper cutters are ground symmetrical. If they weren’t, these tools would vibrate and wobble, leaving a rough surface in the wood.

You’ll get better results from a reputable sharpening service with the proper equipment and know-how to sharpen high-speed blades, knives, bits, and cutters. However, you can extend the time between sharpenings on power tools with simple cutting edges by touching them up occasionally.

JOINTER AND PLANER KNIVES

To touch up jointer and planer knives, first unplug the machine. Hone both the bevels and the backs of the knives with small slip stones, feeling for the correct angles. If you use oil or water to "float the swarf," be sure to carefully wipe the cutterhead clean and dry after honing. I make it a point to touch-up my planer knives before I begin each planing session, and my jointer knives every time I prepare wood for a major project. This way, they get a touch-up at least every few weeks. This greatly extends the time between sharpenings – I routinely get a year or more out of my planer knives and twice that from my jointer.

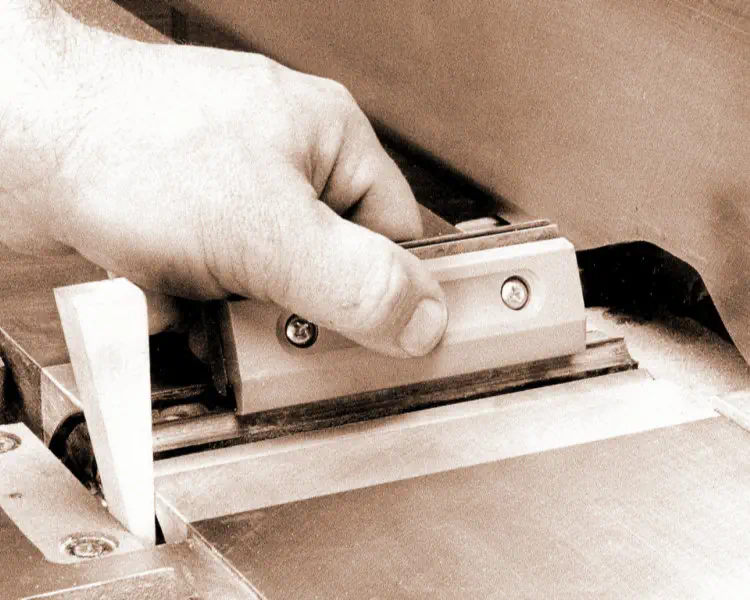
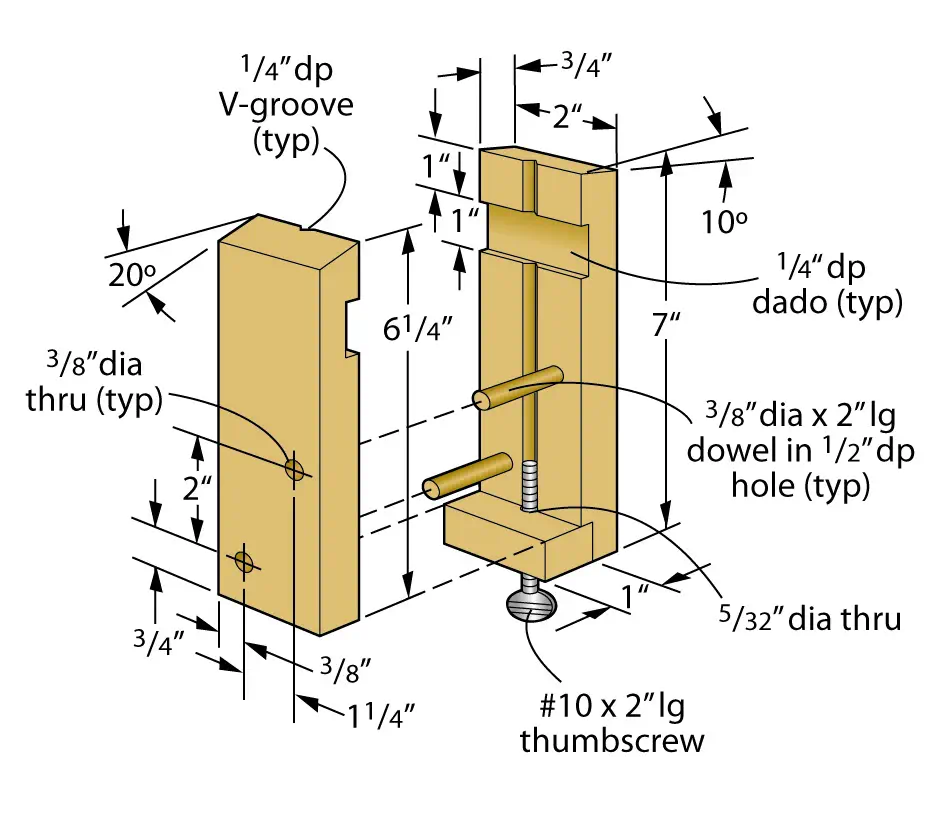
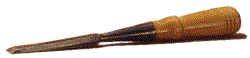
In addition to using slip stones, you can also purchase special touch-up hones (shown) made especially for jointer and planer knives. These greatly simplify the task of finding and holding the correct sharpening angle.

Touching up Jointer knife

Straight & True

Wash Me -- Before touching up or sharpening a high speed cutter, try cleaning it. The wood pitch that builds up on the cutting edges reduces the tool and the clearance angles, making the cutter seem dull. To remove the pitch, dissolve it with mineral spirits or oven cleaner. Wear eye protection and gloves when using oven cleaner.

ROUTER BITS AND SHAPER CUTTERS

To touch up the cutting edges of router bits and shaper cutters, polish the inside (leading) faces on a fine stone. Rub each flute across the stone the same number of times to keep the bit balanced. For high speed steel edges, such as the edges on this shaper cutter, you can use any fine stone.

touching up shaper bit

When touching up carbide cutting edges, however, such as the edges on this router bit, you must use a diamond or ceramic stone. Ordinary stones won't hone the carbide. Once again, count your strokes and hone each flute the same to keep the bit balanced. The larger the diameter of the bit, the more important this becomes.

Touching up carbid bit

DRILL BIT SHARPENING GUIDE

This guide holds both spade bits and brad-point bits, helping guide the file as you sharpen. When sharpening spade bits, use the angled end of the jaw that’s cut 10 degrees off square. For brad-point bits, use the jaw that’s 20 degrees off square.

Place the bit between the jaws and clamp them together. Position the bit with the thumbscrew so the flutes or lands are about 1⁄64 inch above the angled surface of the jaw. Sharpen the bit until the cutting edges are even with the jaw, holding the file or stone parallel to it.

Sharpening guide dimentions

Just To Be Safe

Wash Me -- Before touching up or sharpening a high speed cutter, try cleaning it. The wood pitch that builds up on the cutting edges reduces the tool and the clearance angles, making the cutter seem dull. To remove the pitch, dissolve it with mineral spirits or oven cleaner. Wear eye protection and gloves when using oven cleaner.

Problem Possible Cause Solution
Cutting edge overheats and becomes discolored. Sharpening speed too high; holding edge against stone too long.
Grit too fine for grinding.
Use slower speed; hold tool against abrasive for short periods. Dip tool in water frequently to cool.
Use coarser grit to grind.
Tool requires long time to sharpen. Abrasive loaded with metal filings.
Grit too fine for grinding.
Clean abrasive; use sufficient water or oil while sharpening to float metal particles away.
Use coarser grit to grind.
Cutting edge crowned or skewed after sharpening. Abrasive stone dished or worn.
Applying uneven pressure.
Replace or resurface stone.
Apply even pressure to entire edge.
Tool won't cut at proper angle after sharpening. Trailing edge rounded.
Tool angle too large.
Use honing guide or tool holder to maintain angle.
Reduce tool angle.
Tool makes ragged cut after sharpening; requires too much force to cut. Nicks remain in cutting edge.
Burrs not removed from cutting edge.
Cutting edge not keen enough.
Tool angle too large.
Grind edge long enough to remove all nicks.
Polish or strop both leading and trailing surfaces to remove burrs.
Finish cutting edge with finer abrasives.
Reduce tool angle.
Tool wears quickly. Tool angle too small. Increase tool angle.
chisel icon

Back to Top